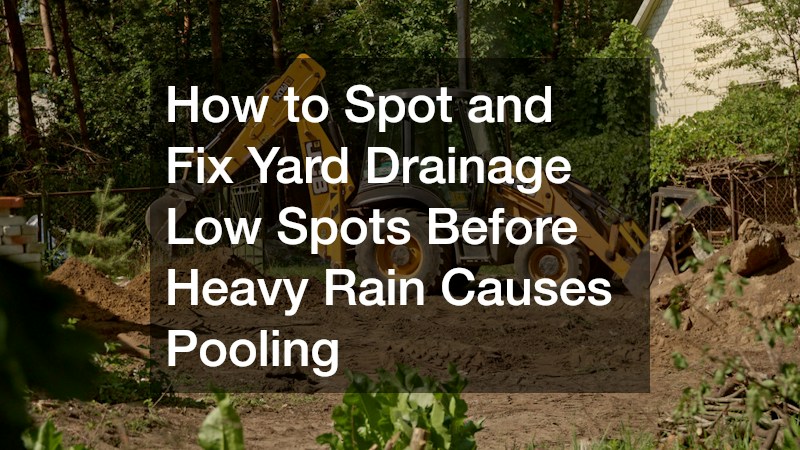

During dry, sunny weeks, subtle dips across a residential lawn are easy to overlook. A shallow, saucer-shaped depression near the back patio or a slight trough beside a walkway rarely draws attention when the grass looks green and the soil feels firm underfoot. Yet the moment a heavy seasonal downpour arrives, those gentle contours transform into standing ponds that drown turf roots, breed mosquitoes, turn walkways into mud pits, and channel thousands of gallons of runoff directly toward your home’s foundation.
Waiting until water is actively pooling against basement walls or saturating mulch beds makes every drainage repair harder, messier, and more expensive. Digging in waterlogged clay destroys surrounding turf, heavy equipment ruts up soft ground, and emergency fixes often address symptoms rather than the underlying slope problems causing water to collect in the first place.
Fortunately, you do not need to wait for a severe storm to see where water wants to go. By learning how to read subtle visual clues in your lawn during dry weather, measuring foundation slopes accurately with simple string-and-level tools, matching soil amendments or subsurface drains to the volume of runoff, and clearing debris safely, you can eliminate yard low spots permanently before the next weather front moves through.
Conducting a Dry-Weather Yard Grading and Low-Spot Audit

The best time to diagnose yard drainage problems is when the ground is completely dry and easy to walk across without damaging grass roots. Even when no puddles are visible, your lawn and soil leave clear physical clues showing exactly where rainwater settles and lingers after storms.
Walk your property slowly in a grid pattern and look for these telltale indicators of chronic low spots:
- Changes in Grass Density and Color: Patches where turf grows noticeably thinner, yellows early in summer, or gives way to moisture-loving weeds like nutsedge, crabgrass, or moss almost always sit slightly lower than surrounding soil.
- Soil Crusting and Silt Deposits: Look for smooth, cracked clay crusts, matted leaves, or fine lines of washed-out mulch and shingle grit—natural “high-water marks” left behind as temporary puddles evaporate.
- Exposed Roots and Settled Hardscapes: Tree roots that appear washed bare on one side, concrete patio slabs that tilt slightly inward toward the house, or sunken paver blocks point to recurring surface runoff eroding fine soil particles beneath the surface.
- Foundation Water Stains: Check brick, block, or poured concrete foundation walls for dark dampness lines, white powdery efflorescence stains, or splashed mud marks rising six to twelve inches above grade.
Once you mark suspect depressions with small wire landscaping flags, measure your property’s actual slope using wooden stakes, mason’s twine, and a simple line level (or a rotary laser level). Drive one stake flush against your home’s foundation and a second stake ten feet straight out into the yard. Tie a taut string level between the two stakes; the ground at the outer stake should sit at least six inches lower than the soil against your foundation wall, creating a steady five-percent drop that carries surface water safely away from the structure.
Pay special attention to linear troughs running across the yard, which frequently form years after underground utility trenches settle. Soil settling near buried water lines or private water systems maintained by well services can create subtle channels that trap surface runoff or mimic groundwater seepage if a casing seal loosens. Conducting a thorough exterior grading audit is equally critical for real estate investors evaluating properties with fix and flip loans, as catching negative foundation slopes early prevents costly basement moisture remediation from eating into renovation budgets.
Regrading Shallow Turf Depressions and Improving Soil Percolation

Once you have flagged every low spot across your yard, measure the depth of each depression by laying a straight eight-foot two-by-four board across the high edges of the dip and measuring down to the lowest point with a tape measure. Shallow depressions under one inch deep can be corrected gradually without disturbing established grass, while deeper basins between two and six inches require lifting the turf and rebuilding the subsoil base.
For minor dips under one inch deep, use the top-dressing method during active spring or fall growing seasons:
- Mow Short and Scalp the Low Spot: Cut the grass inside the depression down to about one-and-a-half inches and rake out dead thatch so new soil makes direct contact with the ground.
- Blend Screened Topsoil and Compost: Mix equal parts screened sandy loam topsoil and fine organic compost. Avoid filling low spots with pure builder’s sand over heavy clay soil, as sand and clay bind together into a dense, concrete-like hardpan that blocks water infiltration.
- Apply Thin, Even Layers: Spread a half-inch layer of your soil blend across the depression with the back of a leaf rake, working it down between grass blades so at least half of each blade remains exposed to sunlight. Water lightly to settle the soil, and repeat the process every three to four weeks until the dip sits flush with the surrounding lawn.
For deeper depressions between two and six inches, top-dressing alone would smother the grass completely. Instead, slice and lift the existing sod cleanly:
- Cut and Roll Back the Turf: Use a sharp flat-blade spade to slice an “H” or grid pattern through the sod inside the low spot, cutting roughly two inches deep to preserve the root mat, and roll the sod flaps back onto a plastic tarp.
- Scarify and Backfill Firmly: Loosen the exposed bottom soil with a garden fork so new fill bonds cleanly rather than sliding along a slick clay interface. Add quality screened loam and soil amendments—sourced in bulk through local agricultural supplies or landscape yards rather than pricey individual bags—in two-inch lifts, tamping each layer firmly with a hand tamper so it does not settle again after the first heavy rain.
- Reset and Water the Sod: Roll the sod back over the raised base, press seams tightly together, and water daily for two weeks until roots knit back into the underlying soil.
Finally, address soil compaction across the entire yard so rainwater absorbs where it falls rather than running off into low spots. Heavy clay soils and high-traffic pet paths pack down tightly over time, shedding water like pavement. Mechanical core aeration pulls thousands of three-inch soil plugs out of the lawn, creating open channels for air, water, and nutrients; pairing annual aeration with disciplined lawn turf maintenance—such as mowing at three-and-a-half to four inches and top-dressing with compost—builds deep, spongy root systems that soak up intense cloudbursts effortlessly.
Installing French Drains, Dry Wells, and Downspout Extensions for Persistent Runoff
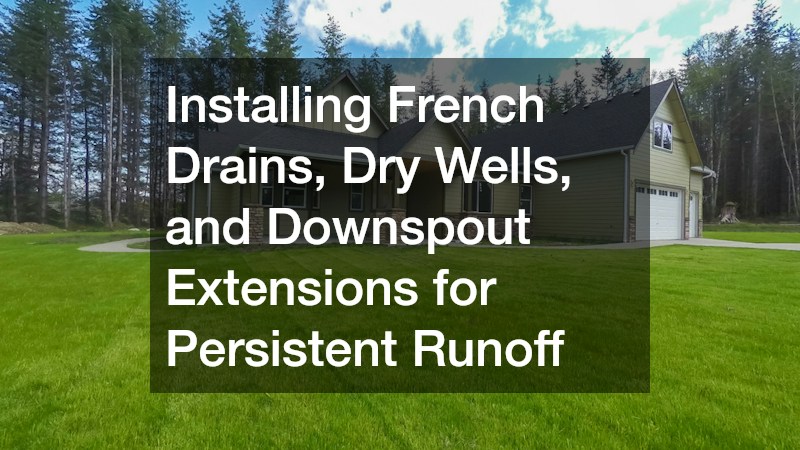
Sometimes a yard low spot floods repeatedly not because the soil is poorly graded, but because an overwhelming volume of water is being dumped directly into that zone every time it rains. A standard 2,000-square-foot residential roof sheds roughly 1,250 gallons of water during a single one-inch rainstorm. If two or three downspouts discharge right beside your foundation or empty onto a flat side yard, even well-graded grass will quickly turn into a swamp.
Start every major drainage fix at the roofline before digging trenches across your lawn:
- Extend Downspouts Below Grade: Connect rigid four-inch SDR-35 PVC pipe (which resists crushing under soil weight far better than thin corrugated black tubing) to your downspout adapters, bury the line at least eight to twelve inches deep at a steady downward slope of one-quarter inch per foot, and terminate the pipe at a pop-up emitter at least ten to fifteen feet away from the foundation.
- Build a Gravel-Filled French Drain: When groundwater seepage or hillside runoff saturates a broad low area, dig a trench twelve inches wide and eighteen to twenty-four inches deep along the upslope edge of the wet zone. Line the trench with non-woven geotextile filter fabric (never landscape weed barrier, which clogs quickly with silt), pour two inches of washed three-quarter-inch angular gravel, lay a four-inch perforated PVC pipe with holes facing downward, cover with more washed stone, wrap the filter fabric overlapping over the top, and finish with topsoil and sod.
On flat urban or suburban lots where there is no downhill slope to daylight a pipe at the curb or rear woods, a subsurface dry well provides an effective underground holding tank. By excavating a three-to-four-foot-deep pit at the low point, lining it with filter fabric, and installing a prefabricated modular plastic dry-well tank surrounded by washed angular stone, you create a high-capacity reservoir that captures rapid storm surges and lets water percolate gradually into deeper, drier soil layers over twenty-four to forty-eight hours.
Comparing retrofit yard fixes against site prep during initial home construction highlights why establishing continuous positive swales before pouring driveways and patios saves so much trouble later. In tight, shaded side yards or narrow dog runs where dense tree roots and heavy shade make growing grass nearly impossible—turning minor dips into permanent mud pits—replacing struggling turf with permeable synthetic surfacing installed by an experienced artificial turf company over a compacted crushed-aggregate base eliminates mud and channels rainwater straight into underlying drainage stone.
Managing Excavation Debris, Sanitary Hazards, and Equipment Upkeep

Digging French drain trenches, stripping sunken sod, and regrading clay slopes generates far more heavy waste than most homeowners expect. Wet clay expands roughly twenty to thirty percent once excavated from the ground, quickly creating massive spoil piles that smother healthy grass if left sitting on the lawn for days.
Plan your material staging and waste removal before putting a shovel in the dirt:
- Stage Spoil Piles on Heavy Tarps: Always shovel excavated clay and rocks onto thick woven poly tarps rather than directly onto surrounding turf so cleanup stays fast and grass blades are not crushed or suffocated.
- Arrange High-Capacity Debris Removal: Municipal yard-waste bins strictly prohibit dirt, sod clods, rocks, and broken concrete splash blocks. When regrading large sections of a yard or excavating long drainage trenches, booking a convenient dumpster rental—and comparing weight-limit policies across local dumpster rental services for heavy soil and sod—keeps your driveway organized and lets you haul debris directly from wheelbarrow to container in a single weekend.
While evaluating standing water around your property, always verify the source of the moisture before stepping into a puddle or pumping water toward a storm drain. Clear rainwater collects quickly during storms and drains or evaporates within a day or two. By contrast, persistent foul-smelling puddles accompanied by lush, unusually dark green grass strips over a septic drain field—or standing water contaminated by raw sewage backups, floodwater silt, or animal waste—pose serious bacterial and viral health risks that call for certified biohazard cleanup services rather than standard DIY yard tools.
Finally, external yard drainage and interior basement water management work as a single connected system. Even the cleanest exterior grading relies on functioning interior sump pumps, battery backups, and dehumidifiers when multi-day tropical systems saturate the surrounding water table. Test your sump pump well ahead of storm season by pouring five gallons of clean water into the pit to verify that the float switch rises freely, the motor engages smoothly, and the exterior discharge line carries water well past your newly graded foundation slope—replacing worn check valves, float switches, or aged appliance parts immediately so mechanical failure never undermines your exterior drainage work.
Spotting and fixing yard drainage low spots before heavy rain arrives is one of the highest-return maintenance investments a homeowner can make. Left unchecked, subtle lawn depressions turn every routine thunderstorm into a cycle of drowned grass, eroded mulch beds, muddy walkways, and hydrostatic water pressure pushing against your home’s foundation walls.
By conducting a dry-weather audit with simple string levels, rebuilding sunken turf with proper loam-and-compost blends, extending roof downspouts away from the house, and installing gravel-lined French drains or dry wells where runoff concentrates, you redirect water safely off your property before it ever has a chance to pool.
Walk your yard this week while the ground is dry, flag the subtle dips and flat spots along your foundation, and put permanent grading and drainage fixes in place now—so when the next heavy downpour hits, rainwater flows smoothly away and your lawn stays firm, green, and protected.